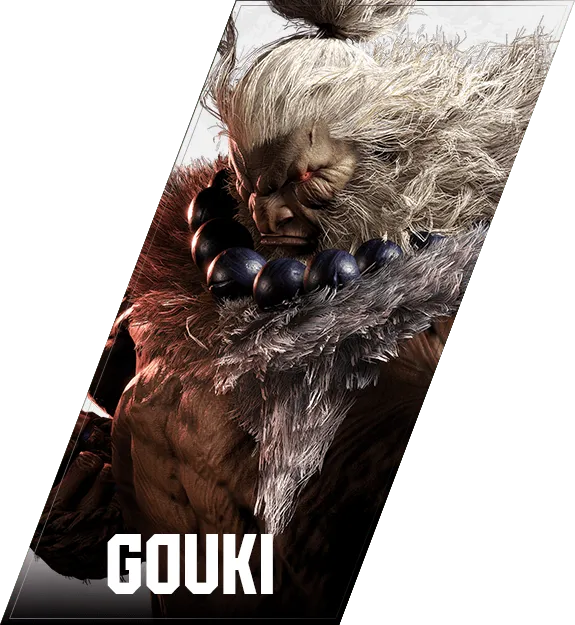

豪鬼
Akuma — 대책
Key Info
- Active-frames overhead into combo
- 6MP
- Defense
- OD invincible with 6F startup: 623PP
- If you play Luke or Kimberly, avoid Rush after throw — they have fast OD reversals
- Anti-air invincible with 5F startup: 623LP
- SA1 (236236P) has 14F startup — no projectile invincibility
- SA3 (214214P) has 9F startup — projectile invincible
- SA2 (236236K) has 8F startup
- OD invincible with 6F startup: 623PP
- Moves that are plus on block
- HK
- 236PP
- 236LP(Lv2), 236LP(Lv3)
- 236MP(Lv2), 236MP(Lv3)
- 236HP(Lv2), 236HP(Lv3)
Neutral Game (Focus Points)
- Dealing with 236P (Gohadoken)
- Do not reversal jump after blocking — you will get anti-aired
- Jumping on a successful Just Parry is fine
- Always buffer a heavy attack with Parry so you can follow up when Just Parry lands
- Do not reversal jump after blocking — you will get anti-aired
- Dealing with HK
- Blocking it lets Akuma start his offense at +2F
- HK does not hit crouching opponents
- If you crouch and make it whiff, retaliate with a medium or heavy attack — not a light
- 214P (Gohadou)
- If you cannot distinguish the strength, start from a 4F light into a Punish Counter route
- (Jump forward) 236P (Zanku Hadoken)
- When using an invincible anti-air special, wait and pull it out after the fireball passes
- Going early will clash with the fireball
- Jumping forward in response to Akuma's air fireball approach is also effective
- This puts Akuma in an airborne hurt state — pick the best route for your character
- When using an invincible anti-air special, wait and pull it out after the fireball passes
- Accept midscreen throws
- After a midscreen LPLK, Akuma's situation is not strong
- He cannot use Rush for okizeme either — accept the reset and return to neutral
- After a midscreen LPLK, Akuma's situation is not strong
236P (Gohadoken)
Akuma's projectile. Startup and speed vary by strength. Holding the button charges the move and changes its frame advantage on block.
- 236LP(Lv1)
- 236LP(Lv2)
- 236LP(Lv3)
- 236MP(Lv1)
- 236MP(Lv2)
- 236MP(Lv3)
- 236HP(Lv1)
- 236HP(Lv2)
- 236HP(Lv3)
Neutral Game (Focus Points)
- 236LP(Lv1)
- Even a successful Just Parry does not guarantee an attack — return to neutral
- 236HP(Lv1)
- Buffer Rush or a heavy attack alongside your Just Parry attempt
- 236LP(Lv3)
- If 236LP(Lv1) is held at close range, Akuma is plus on block — play the mixup
- 236MP(Lv3)
- If 236LP(Lv3) is held at close range, Akuma is plus on block — play the mixup
- 236HP(Lv3)
- If 236LP(Lv3) is held at close range, Akuma is plus on block — play the mixup
Neutral Game (Focus Points)
Over-focusing on Just Parry will get you baited by 6KKK→LPLK. Keep Just Parry use in moderation. Recognize that forward jumps and projectile-invincible moves are also valid ways to deal with the fireball game.
214K (Tatsumaki Zankukyaku)
Akuma's Tatsumaki. Primarily used as a combo ender.
- 214LK
- Only hits standing opponents
- -13F on block
- 214MK
- Only hits standing opponents
- -13F on block
- 214HK
- -59F on block
- 214KK
Recommended Counter
- 214LK
- Only hits standing opponents
- On hit, Akuma follows up with 2HK in combo
- The post-hit situation is not great, so informed Akuma players rarely use this — low priority to learn
- 214MK
- +41F on grounded hit
- A forward jump can be anti-aired by a 5F Goshoryuken — remember this
- Only hits standing opponents
- Sets up shimmy okizeme via forward step and slight walk
- +41F on grounded hit
- 214HK
- On hit, wakeup becomes a mixup — remember this
- In-place wakeup
- With Rush: walk shimmy is not possible
- Without Rush: okizeme is available
- Back wakeup
- Without Rush: no okizeme
236K (Ashura Senku)
Startup and travel distance vary by strength.
- 236LK
- 236MK
- 236HK
- 236KK
Branches into:
Normal version
- 236K→(no follow-up)
- Akuma is +4F on block
- 236K→P
- Akuma is +4F on block
- 236K→K
- +2F on block (waist level)
- +3F at foot level
- 236K→2 (feint)
OD version
- 236KK→236P
- 236KK→214K
Recommended Counter
Using an invincible anti-air special to stop this is unreliable due to the 236K→2 feint and short-travel 236LK.
Chasing feints in ranked play is not worth it — fuzzy c.LP is recommended. Press c.LP at the timing you would block 236K→K to cover the 236K→P option as well. Difficult to do consistently in a real match, but aim for it when possible.
The video below shows each recorded option:
- 236K→(no input)
- 236K→P
- 236K→K
- 236K→2
That said, even after blocking it you are at a disadvantage — the ideal outcome is an air-to-air exchange instead.
Warning
The fuzzy only works against Akuma players who do not delay the follow-up. A delayed follow-up shifts the fuzzy window — if they delay, the air-to-air window extends, so focus on that instead.
623P (Goshoryuken)
- 623LP
- 623MP
- 623HP
- 623PP
Recommended Counter
Relatively strong performance — do not jump in recklessly.
214P (Gohadou)
A special with almost no punishable states. Extremely high damage when landed in the corner.
- 214LP
- -8F on block
- Outside throw range
- 214MP
- -4F on block
- Outside throw range
- 214HP
- -3F on block
- Within throw range
- 214PP
- -3F on block
- Within throw range
Recommended Counter
If you cannot read the strength, press a 4F normal after blocking.
While adding a throw to the mixup is ideal, 214LP and 214MP land outside throw range, making it very difficult. Once you are comfortable, start adding throw as an option specifically against 214HP and 214PP.
(Jump forward) 236P (Zanku Hadoken)
- (Jump forward) 236LP
- (Jump forward) 236MP
- (Jump forward) 236HP
- (Neutral or forward jump) 236PP
Recommended Counter
The best response depends on your character's anti-air options — research what works for your character. Characters with invincible anti-air specials should wait and draw Akuma in before launching the move.
Characters without invincible anti-air specials can jump forward in response to Akuma's jump approach to earn a return.
If both are too difficult, focus on air-to-air.
HK
A normal that leaves Akuma +3F on block. Does not allow walk shimmy follow-up.
Recommended Counter
Keep in mind that walk shimmy is not available after this and pick your options accordingly. If Akuma back-dashes, HP is guaranteed against a throw — so throw tech attempts are also risky.
At lower rank levels, the following is the recommended option:
- Parry
- Akuma's midscreen throw situation is not advantageous
- Even a Punish Counter throw is not great for him — accept it while looking for a side opportunity
If you successfully crouch-block HK, Akuma is -13F — punish hard.
6KKK→LPLK (Hyakkishu Throw)
Akuma is at +20F on hit. With Rush on hit, only HP reaches as a meaty.
Recommended Counter
If you see the Rush, Just Parry has the best expected value.
LPLK (Throw)
Akuma is at +28F advantage. In midscreen, back wakeup removes his okizeme.
Recommended Counter
Take back wakeup.
4LPLK (Back Throw)
Akuma is at +14F advantage.
In-place wakeup: only HP reaches as a meaty. Back wakeup: no move overlaps even with Rush.
Recommended Counter
Back wakeup is the stable choice.